Bike Assembly Guide
WARNING! BEFORE YOU USE YOUR BIKE OR START ASSEMBLY - READ THIS NOTICE!
IMPORTANT: Bicycles are complex machinery, especially the gears and wheels, and its highly recommended that you take the bike to a bicycle retailer (not Halfords) to be setup and built correctly for yourself before using it, if you do not have experience or the ability to do it yourself. We do not cover the costs of bike build, a gear setup or adjustment UNLESS you buy the bike in our store or can bring it to us to carry out the work - this is a responsibility you should accept as a rider. You also should be prepared to have your bike serviced in regular intervals to maintain its safety, performance and warranty eligibility.
Pedals/Crank Arms
Pedals must be correctly fitted or the crank arm will be damaged/mis-threaded - this is not covered by warranty. Be sure to follow instructions or seek advice before fitment. There are also guides and information about this online if you are not sure.
Derailleur/Gears Issues;
You must check that the derailleur is NOT bent or misaligned after delivery, due to transit movement this can sometimes happen on any bike that is delivered. You have to notify us within 24 hours after delivery if it is bent or damaged and do not ride the bike.
If you start riding the bike and later the derailleur snaps or breaks or gets caught in the wheels, this will likely be because you have knocked/damaged/bent or placed the bike on its side on the gears or otherwise moved the derailleur out of line/position, which causes the damage/problem. The bike would not be rideable if the issue was there before usage.
Bike Assembly & Delivery Guide!
DO THIS FIRST: CHECKING YOUR DELIVERY
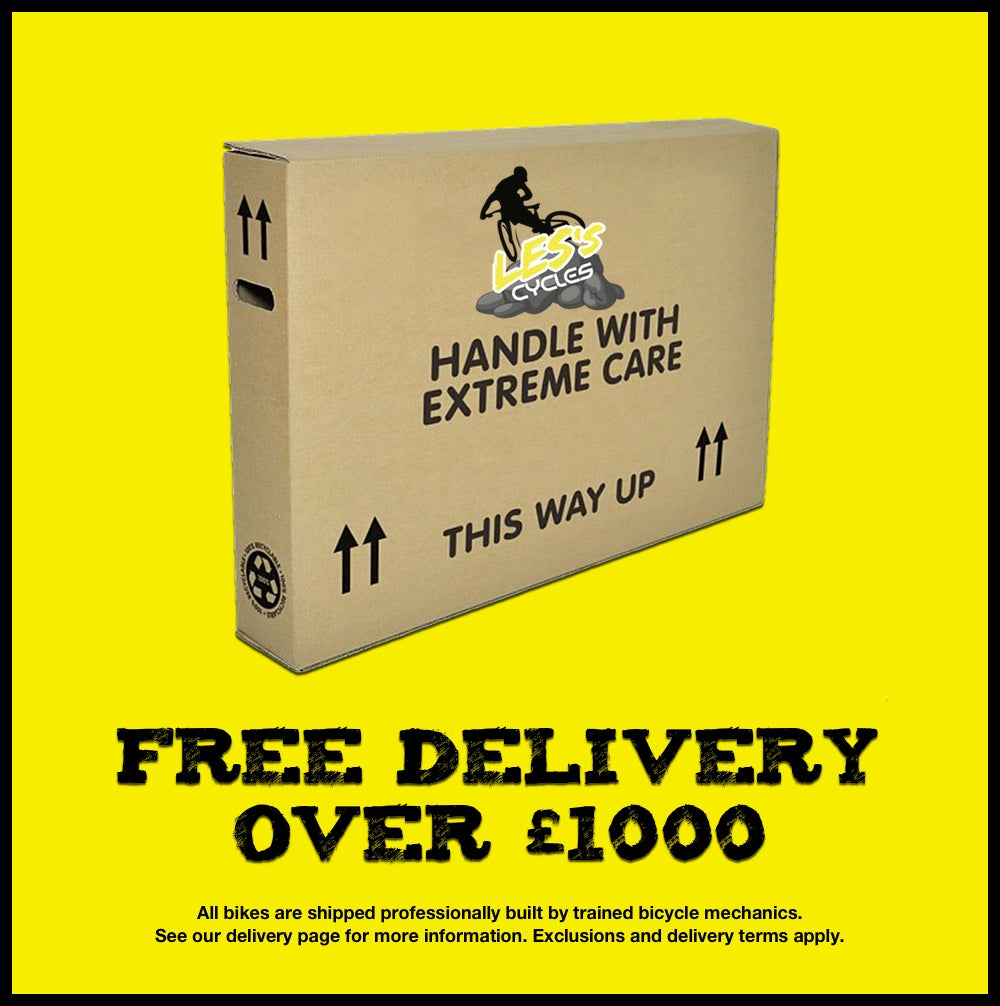
Once your bike is delivered, we recommend taking photos of the outside of the box and its general condition while it is still sealed, especially of any areas of the box that appear to be damaged or dented. You should also retain all items of packaging for as long as you may need to return the bike.
VERY IMPORTANT: UNPACKING YOUR BIKE/E-BIKE
Take extreme care when unpacking the bike and all parts. This means you must be very careful when removing any wheel(s), handlebars or other items that could potentially scratch/scrape or otherwise damage your bike and its frame/paintwork. We review all cases carefully and cannot accept liability where it appears you have accidentally damaged your bike. Every item we send out is thoroughly checked before it leaves our workshop.
MANUAL ASSEMBLY OF YOUR BIKE/E-BIKE
Before you proceed, if you are unsure or unable to complete assembly you should have it professionally done. If you do not and an assembly issues causes failure, this is not covered under warranty.
Step 1: After removing the bike from the box and removing the packaging, undo the faceplate on the front of the bike’s stem using the appropriately sized allen key.
Step 2: Attach the bars to the stem and tighten the faceplate making sure you use any markings on the handlebars to line it up evenly. When placing handlebars onto the stem, ensure they are the right way up/round and ensure the gear levers are on the bottom.
Step 3: Attach the front wheel; this could be one of three axle types: Bolt on (Tighten each side evenly), quick release (tighten and push upwards, the force should leave a slight marking on the palm of your hand) or thru axle (if it is the lever type make sure the lever is upwards parallel to the fork body).
Step 4: Fit the pedals using a pedal wrench allen key. Each pedal will have a side (L = Left / Lines above thread, R = Right / No lines above thread). Tighten both pedals towards the front of the bike. Tighten both pedals carefully and make sure not to cross-thread or the crank/pedal could fail after usage (any fault with the crank/pedal would be visible beforehand).